How to Photograph Birds at Garden Feeders: Settings, Perches and Lighting
Your garden feeder is probably the best bird photography studio you will ever have. The birds come to you. They come back. Over a few weekends you learn which blue tit arrives first, which robin will sit and glare, and how the goldfinches squabble over the nyjer. The trouble is that most feeder photographs look dreadful: a knot of plastic ports, a chaos of seed, a bird half-hidden behind a perch with a bright sunflower heart where its head should be. The fix is easy to describe and takes practice to get right. Stop photographing the feeder. Start photographing birds on a perch beside it.
Garden bird photography is mostly a lighting problem, and it is one you can solve before you touch a dial. The best light is the light most people skip: early morning, late afternoon, and bright overcast days. A flat grey sky works like a softbox the size of a field, filling the shadows under a wing and letting colour show without blowing out the pale shoulder of a great spotted woodpecker.
Harsh midday sun does the opposite. It carves hard shadows across a bird's face and burns out white feathers. If midday is your only option, find a spot where the sun falls from a consistent angle on your perch and bounce a little light back in with a sheet of white card or a pale wall. Shooting through closed window glass is the other quiet killer of sharpness. If you must, clean the glass, switch off interior lights, and push the lens hood flat against the pane.
Start with aperture priority, auto ISO and a fast enough shutter speed to freeze a twitch. For small, active birds, think 1/1000s as a working minimum; drop to 1/500s for a settled bird and push past 1/1600s if you want take-offs and mid-air squabbles. In dull light, raise the ISO rather than drop the shutter speed. A slightly noisy sharp frame is worth far more than a clean, soft one.
At close range with a long lens, depth of field collapses to a few millimetres. Shooting wide open at f/4 often gives you a pin-sharp eye and a tail that dissolves. Stop down to f/6.3 or f/8 and the whole bird holds together, but you start pulling background clutter into focus. That balance is the whole game. If your background is messy, open up and let it blur; if it is clean and distant, stop down a little.
Use continuous autofocus with a single point or a small zone placed over the head, and take short bursts rather than holding the shutter down. Recent cameras with bird eye detection are genuinely useful, but on a busy feeder they can jump between three birds in a second. A small zone is more predictable. Shoot RAW. You will want the latitude later.
A reasonable starting set-up:
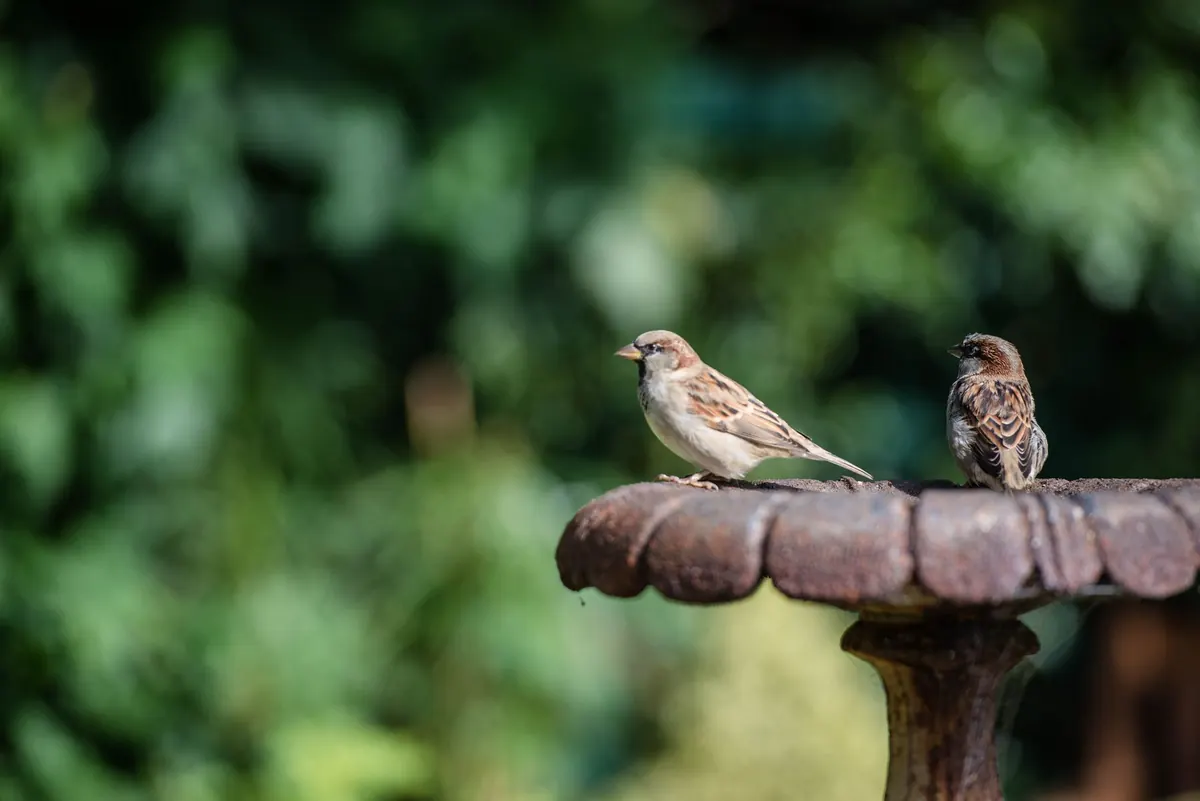
The single biggest upgrade to garden bird photographs costs nothing. Push a branch, a weathered stub of wood or a mossy stone into the ground a metre or so from the feeder and shoot that instead. Position it slightly higher than the food and on the birds' natural route between cover and the table, and they will use it without being asked. Loose, natural material beats a painted dowel every time. Change it every few weeks so your pictures do not all look like the same morning.
Keep the perch clean, and check it before each session. Nothing ruins a carefully composed frame faster than a splash of droppings on the moss.
Place the perch so that a hedge, a bank of shrubs or a distant treeline sits two or three metres behind it. With a long lens and a moderate aperture, that gap blurs into soft, unbroken colour. What you want to avoid is bright sky, fence panels, bins and washing lines. A dark ivy wall or an evergreen makes a clean, quiet backdrop that flatters every bird in front of it.
Then deal with the feeder itself. Crop it out. Hide it behind the perch. Better still, use a tray or a log on the ground for a session and leave the hanging feeder out of frame entirely. A bird with a beak full of food, photographed against green, looks like wildlife photography. The same bird two feet to the left looks like a snapshot of a plastic tube.
Shoot from a shed window, a hide or an open back door with the camera on a tripod or beanbag. Set everything up, then walk away for twenty minutes. Birds settle quickly once the strange object stops moving around, and their behaviour returns to something worth photographing. Stalking a feeder with a long lens rarely works; waiting does.
If you have a remote release or a phone app that triggers the camera, use it. Sitting indoors with a cup of tea while the camera waits is a far more productive strategy than standing in the border.
Feeders gather birds together, which makes it easier for disease to spread between them. Clean and dry your feeders regularly, and if you notice sick birds — swollen or crusty eyes on finches, for instance — take the feeders down and seek advice from a wildlife organisation before putting them back. In the UK, wild birds, their nests and their eggs are protected by law, so keep a respectful distance from nesting birds and never move a nest or a chick for the sake of a picture. Keep cats away from the setup while you shoot, and skip flash at close range.
Do all that and the rewards are considerable. A garden feeder offers something a nature reserve cannot: repetition. You get to know individual birds, learn their timing, and refine your settings over dozens of attempts rather than one lucky afternoon. Set up a decent perch, wait for the light, and the photographs will follow.
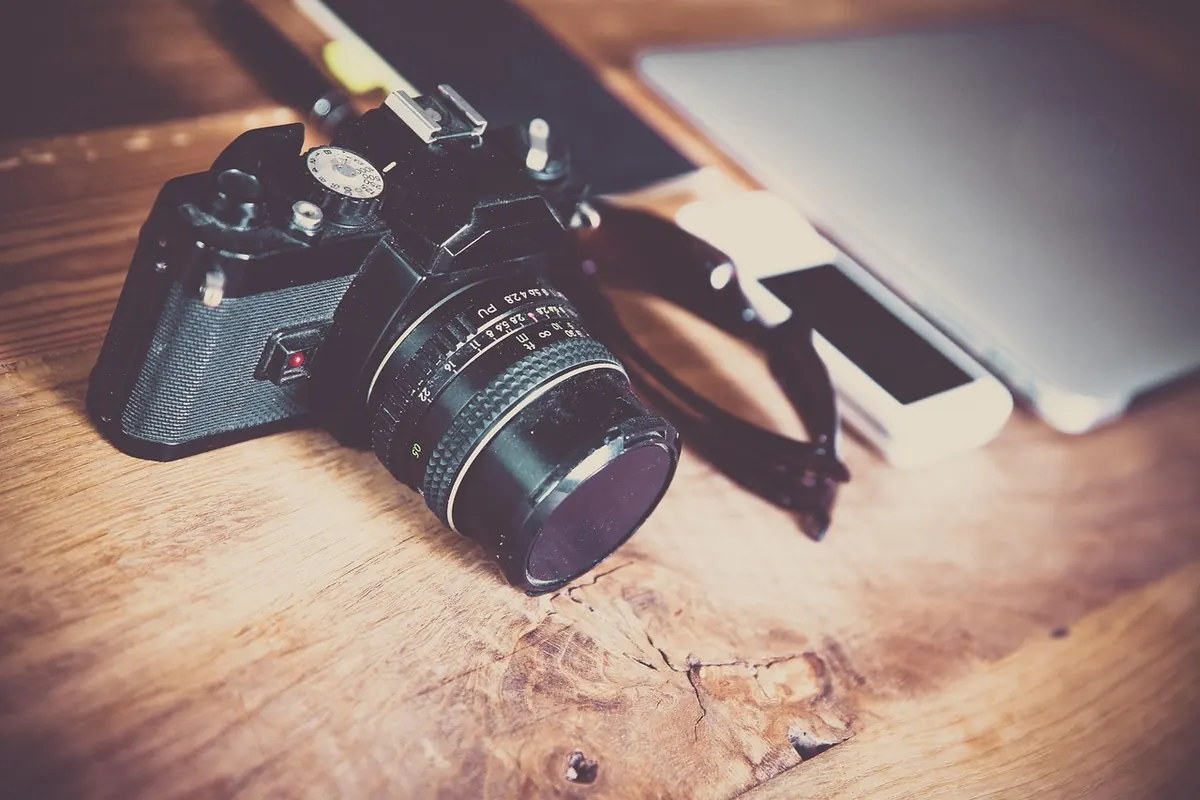
Photo: markusspiske / Pixabay
Previous Post
How to Birdwatch Your Local Patch: Parks, Canals and Cemeteries
Next Post
How to Make Your Garden a Bird-Friendly Habitat: A Practical Conservation Guide