The Beginner's Guide to British Birdwatching: Binoculars, Field Guides and Your First Local Patch

A goldfinch on a seed feeder is not a rare bird. That is exactly what makes it a good place to start. British birdwatching begins in ordinary places — a suburban garden, a park pond, the overgrown edge of a car park — and the skills you build there will carry you through the rest of your birding life.
You do not need expensive kit or a long journey. You need a pair of binoculars you will actually carry, a guide you understand, and one patch of ground you visit often enough to notice when things change.
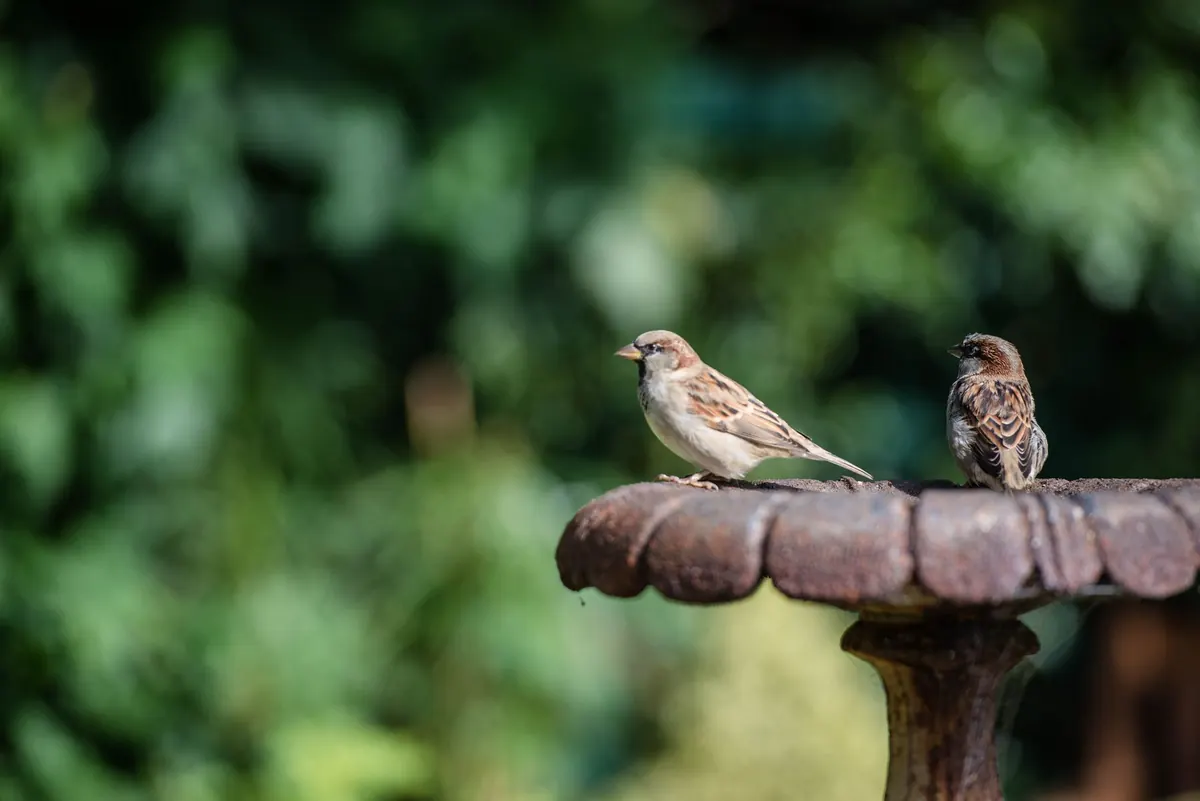
Before you go anywhere, spend a fortnight watching your garden, or a window box, or the tree outside your kitchen. Learn to tell a blue tit from a great tit, a dunnock from a house sparrow, a carrion crow from a rook. Watch what they do rather than only what they look like: starlings squabble, dunnocks creep about under shrubs, woodpigeons sit heavily and clatter away.
Put out food if you can, keep feeders and bird baths clean, and write down what you see. Even a scrappy notebook list builds the habit of looking properly. A garden list of twenty species is a genuine achievement, and it makes the next step feel less daunting.
Binoculars are described by two numbers, such as 8x42. The first is magnification, the second the diameter of the front lens in millimetres. Both matter, but not in the way beginners expect.
Eight power gives a wide, steady view and is easy to hold. Ten power shows a little more detail but wobbles more and narrows the field, which makes finding a moving warbler harder. A 42mm lens gathers plenty of light for British conditions. Compacts with small lenses are light but dim at dawn, and zoom binoculars are best avoided altogether.
Go to a reserve shop, an optics dealer or a birdfair and handle several pairs. Ask yourself a few blunt questions:
Second-hand binoculars from a reputable dealer are excellent value. A modest pair that lives in your coat beats an expensive pair left at home. And you can start with none at all: plenty of good birders began by identifying birds with their eyes and ears alone.
Buy a guide covering Britain and Europe, and choose one with painted illustrations rather than photographs. Illustrations can show plumage in different seasons, ages and poses side by side, which photographs of single birds cannot. The Collins Bird Guide is the standard reference; the RSPB and WildGuides publish friendlier pocket versions that suit beginners well.
Learn the vocabulary in the front pages: crown, supercilium, tertials, primaries, rump. It is dull for ten minutes and useful for the next twenty years. Phone apps are handy for songs and quick comparisons, but resist staring at a screen in the field. Look at the bird, make notes, and check the guide when you get home.
Beginners often chase rarities too early. Better to know a handful of common birds so well that you notice immediately when something is different. Work through this lot first:
Add mallard, moorhen and coot if there is water nearby. Then learn the awkward pairs: dunnock against house sparrow, carrion crow against rook, chiffchaff against willow warbler. Learn their calls too, ideally a few at a time. Sound is how you will find most birds, long before you see them.
A patch is somewhere you can reach on foot or by a short cycle, and cover properly in an hour. A park with mature trees, a canal towpath, a churchyard, a reservoir edge, an allotment boundary or a small local nature reserve all work. Your council website, the local Wildlife Trust and an Ordnance Survey map will show you green spaces you have never noticed; satellite view on a map app will reveal ponds and hedgerows.
Then work it the same way, again and again:
Repetition is what turns a walk into birding. Once you know a patch, a new arrival stands out at once, and you will start to see seasonal patterns rather than random birds.
Move slowly and quietly, wear dull colours if it helps you feel inconspicuous, and stop often. Learn to scan with your eyes first, then lift binoculars to the spot rather than sweeping the whole view with them. Never approach a nest or a bird with young; disturbing nesting birds is an offence, and some species have extra legal protection, so keep your distance and move on. Do not play recordings of songs during the breeding season. Stay on paths, close gates, and keep dogs under control where wildlife is present.
Common sense applies to people as well as birds. Do not train binoculars on houses, gardens or windows, and if a landowner or warden asks what you are doing, tell them plainly and pleasantly.
Week one, watch your garden or street and write down every species. Week two, sort out binoculars, borrowed or bought. Week three, read the front of your field guide and learn five common calls. Week four, pick a patch, visit it twice, and list what you find.
Join the RSPB, the British Trust for Ornithology or your county Wildlife Trust if you want local walks, surveys and company; none of it is compulsory. The only thing that really matters is going out regularly. Patch lists grow slowly, and that is the pleasure of it — the same hedge, in the same month, never quite the same as last year.
Photo: Olga_Fil / Pixabay